
bail
I hope you enjoy using these techniques in your work.
Please respect my copyright on this tutorial and my artwork. Jane Cather 2008
Included here are photos of the bail being made.
Here are the series of bail photos. I used 24 gauge copper as it would be formed.
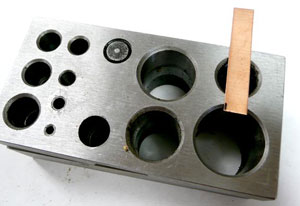
Disc cutter and strip of 24 g copper on the hole I am choosing.
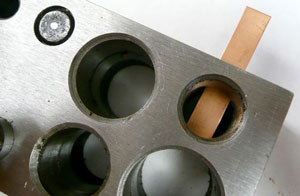
Copper inserted in the disc cutter. I will now use punch and hammer to cut it out.
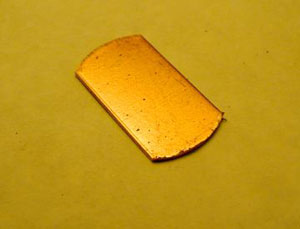
Resulting piece cut in disc cutter.
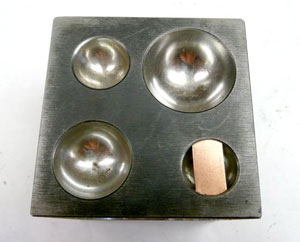
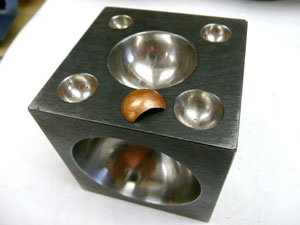
Piece put in first depression and will be dapped with punch.
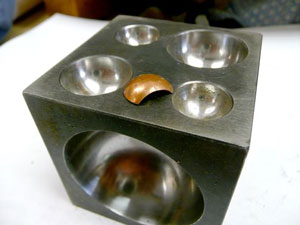
This is the resulting shape after the first dap.
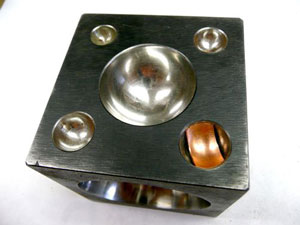
Piece put into next smaller depression of the block and will be dapped again.
Resulting shape after second dapping. It can be dapped one if not two more times, but this was sufficient for my cord to pass through. Next I sand the bail to flatten the edges to be soldered.
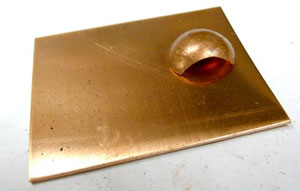
This back is not formed, but I place the bail on a back that is formed and scribe around the top and bottom. Then I melt hard solder just inside those scribe lines. The area is cleaned and fluxed again. The bail is put in place and soldered to the back. I will then sift on my first layer of counter enamel.
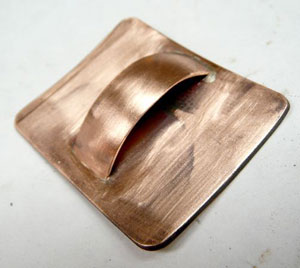
A simpler bail. I just cut a strip of 24g copper and dapped a bigger longer bail. This still keeps the bottom from tipping in and is large enough to allow different chains to be used.
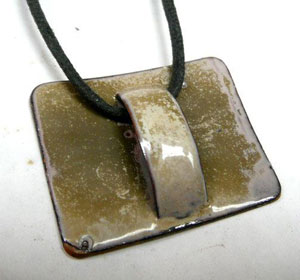
Same back but now it is enameled.
I hope you enjoy using these techniques in your work.
Please respect my copyright on this tutorial and my artwork. Jane Cather 2008